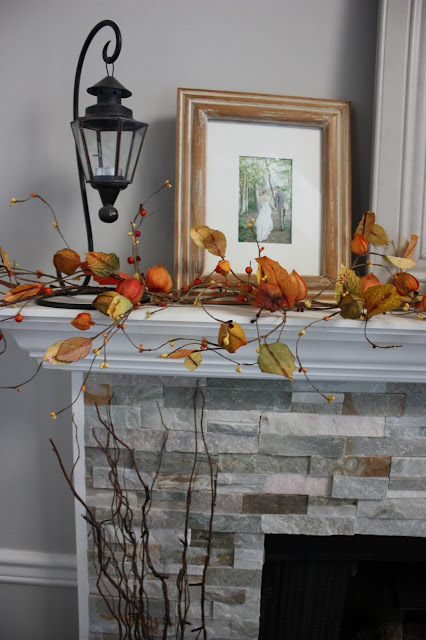
Today, I'll share one of my favorite updates to our home, and also my favorite spot in the house this time of year: our fireplace!
When Blaine and I left our 1960s Ranch style home and moved to a 1990s Cape Cod, the thing I missed the most was our brick fireplace. I probably just lost some of you there... but I LOVE a brick fireplace! Maybe it's because I grew up with one; or because Christmas is my favorite time of year, and having stockings "hung by the chimney with care" is a must! Unfortunately, when we first moved into our current home (the cape cod house), the fireplace left something to be desired...
Sorry about the owl's feet... it looks like the wicked witch of the East came and sat on the fireplace....
Don't get me wrong.. there is nothing wrong with this fireplace the way it is (err... was). It just wasn't my style. I am too in love with the rustic farmhouse look to start changing all of my Homegoods purchases and yard sale finds now. Nothing about the [former] fireplace said "rustic farmhouse" to me. So... I started hunting on Pinterest for ways to reface our fireplace. And after several days of searching (and consulting with hubs... after all, he was going to have to live - right in the living room - with this decision, too), I found my inspiration here, from the Jenna Sue Design blog.
I loved two things about her fireplace: 1) the stone tiles, and 2) the hearth!
So, our good friend and carpenter, Tim took a look at our fireplace and the pictures I found on Pinterest and said, "Heck, I'll try it." (He didn't say 'heck', but let's keep it rated G).
Here is the progression of the project:
Our friend Tim measured and framed out the bottom, where the hearth would go.
Then, he added molding to the edges and made a beautiful mantel piece! This was after the first day of cutting and measuring the stone pieces. We cut the pieces bordering the fireplace at 45 degree angles to create the wrap-around/stacked brick illusion of a real fireplace.
We spent some time waffling over whether to wrap the tiles around to the other side too, or to just frame it out. We decided to save a lot of time and tile by framing it, and I'm so glad we did! It showcases the stone really nicely, and the way it hits against the chair mold makes it look like it was meant to be there.
(The seams on the hearth look darker in this picture because the grout was still wet).
And here is the finished product....
My sweet, woman-of-many-talents friend Jess made this (my favorite verse) for me, and it's one of my favorite things in the house!
All in all, this project took about three weekends, and just under $350 for materials. We paid some labor costs, because there's no way Blaine and I could have done this [right] without Tim! It was a little expensive, but oh my goodness, I cannot tell you how much I enjoy our fireplace now. It's the first thing you see when you come in our front door. It welcomes us home and makes me happy every time I see it!
(It makes Floyd pretty happy, too)
"Happiness is anyone and anything that's loved by you." Charles M. Schulz


Great job Karyn! Looks beautiful!
ReplyDeleteThis makes me wish I had before and after pictures of our fireplace transformation 35 years ago ... good for you for capturing this project and the heart(h) behind it ❤️
ReplyDeleteelijah: "where's a picture of DARLA?!!!" :)
ReplyDeletehahaha, aww Elijah, I will make sure DD gets in the next post ;) <3
Delete